I’m always looking for ways to make my designs even more special and unique. When thinking about what I could do next, I came across the possibility to actually paint on leather. I was intrigued immediately.
Learning to paint on leather was what I wanted to do, to be able to offer additional services to my customers. You can now choose to have your monogram added to any place of your item in your favorite color and size. This way my monogramming service does not depend on any machine. Hotstamping your initials on leather goods can be very pretty too, don’t get me wrong but it is way more limited when it comes to size and color options.
Another possibility to individualize the look of your bag is to add the hand painted logo. As statement logo placement is a big thing right now I am happy to add the bold logo in your favorite color to your bag or shoulder strap.
In the following paragraphs I will explain the process of painting on leather, to show you how much work and love I put into every single one of your orders.
What do you need?
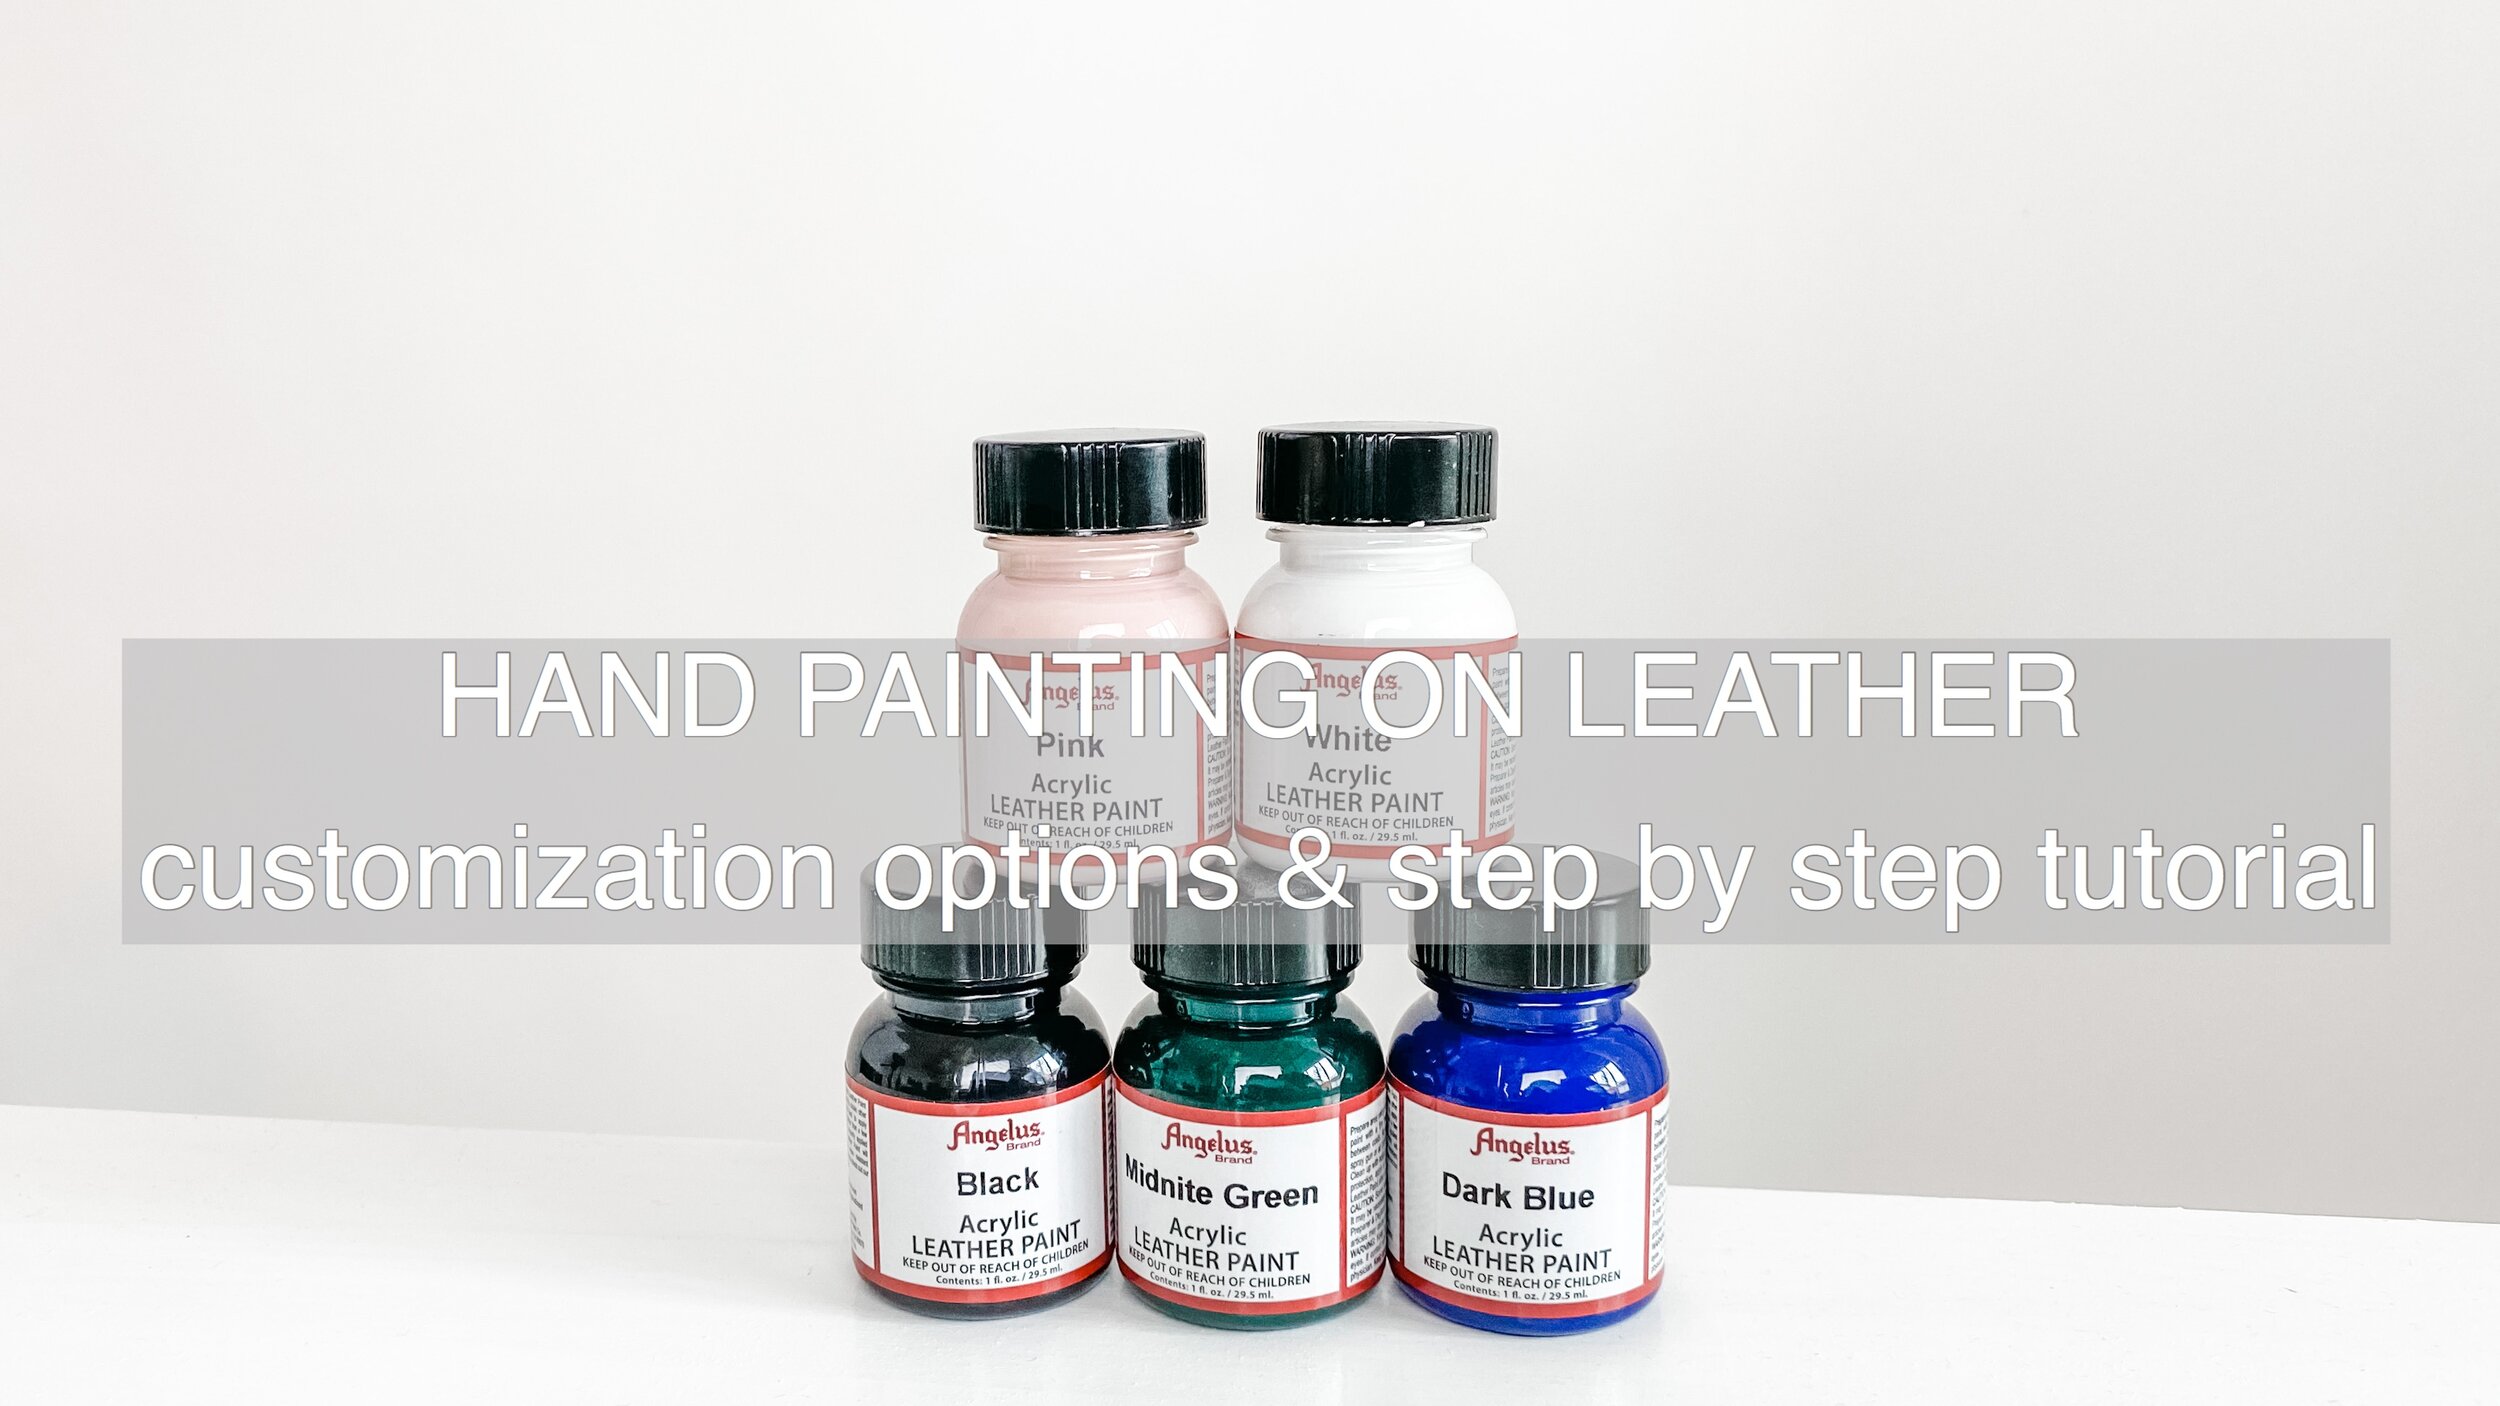
Painting on leather can’t be done with any color but special equipment is needed. I personally use the Angelus acrylic leather paint.
Leather preparer and deglazer - not only does the leather need to be clean and any oil residues need to be removed, but you also need to deglaze the leather. This first step removes any finish that has been put onto the leather so that the color can penetrate the upper layers.
Prepare your leather
Takes off any finishes from the leather - the Angelus leather preparer and deglazer
2. Leather Paint
Once the surface of the leather is clean you can start with the actual painting. As mentioned above I use the Angelus colors which are especially made to paint on leather.
It’s time to paint
always apply thin layers and let them dry completely
3. Finisher
After you’ve applied the paint and it has completely dried it is time to apply the finisher. This is a crucial step since the finisher makes sure the color is sealed so it will last as long as possible.
Sealing it all on
Apply finisher as your final step to make sure your paint job will last
4. Brushes
When painting on leather you will need brushes that can be used with acrylic paint. I do use the daVinci brushes and tend to go with the finest available. This will depend on your project and what you are trying to achieve.
How I paint on leather
As mentioned above I offer several different options for my clients to choose from, when it comes to personalizing their order. In this example I will show you how I added a black monogram to an all white Kinchaku (medium size).
After the decision was made for the monogram to go in the left corner of the bag, I deglazed the area using the Angelus deglazer. Then I made a stencil for the letters and transferred them to the leather using a silver pen.
The leather is now ready to be painted on. Since in this example we didn’t want the monogram to interfere with the sleek and clean look of the Kinchaku the monogram was going to be all black. I started painting the outlines of the letters using as little of the paint as possible. Since the leather is very structured you will need to go very slow and steady to achieve a straight line. I used the da Vinci NOVA sythetics 10/0 brush.
After having applied about three very thin layers of paint and having them dried thoroughly for at least 30 mins each it is then time to add the final layer. In my case I’m using the satin acrylic finisher, since I like that it is not super shiny.
After the top coat layer is all dry, you are good to go and the final product is ready to meet it’s new owner.
Hand painted monogram on an all white Kinchaku
This is it. The final result of the hand painted monogram on the all white Kinchaku bag. I really love how it elevates the look of the bag by making it even more personal.
Have you ever tried painting on leather? Or do you have any ideas what you’d want to have painted on your new item? Let me know in the comments or use the contact form to get in touch.
LOVE
Aline


