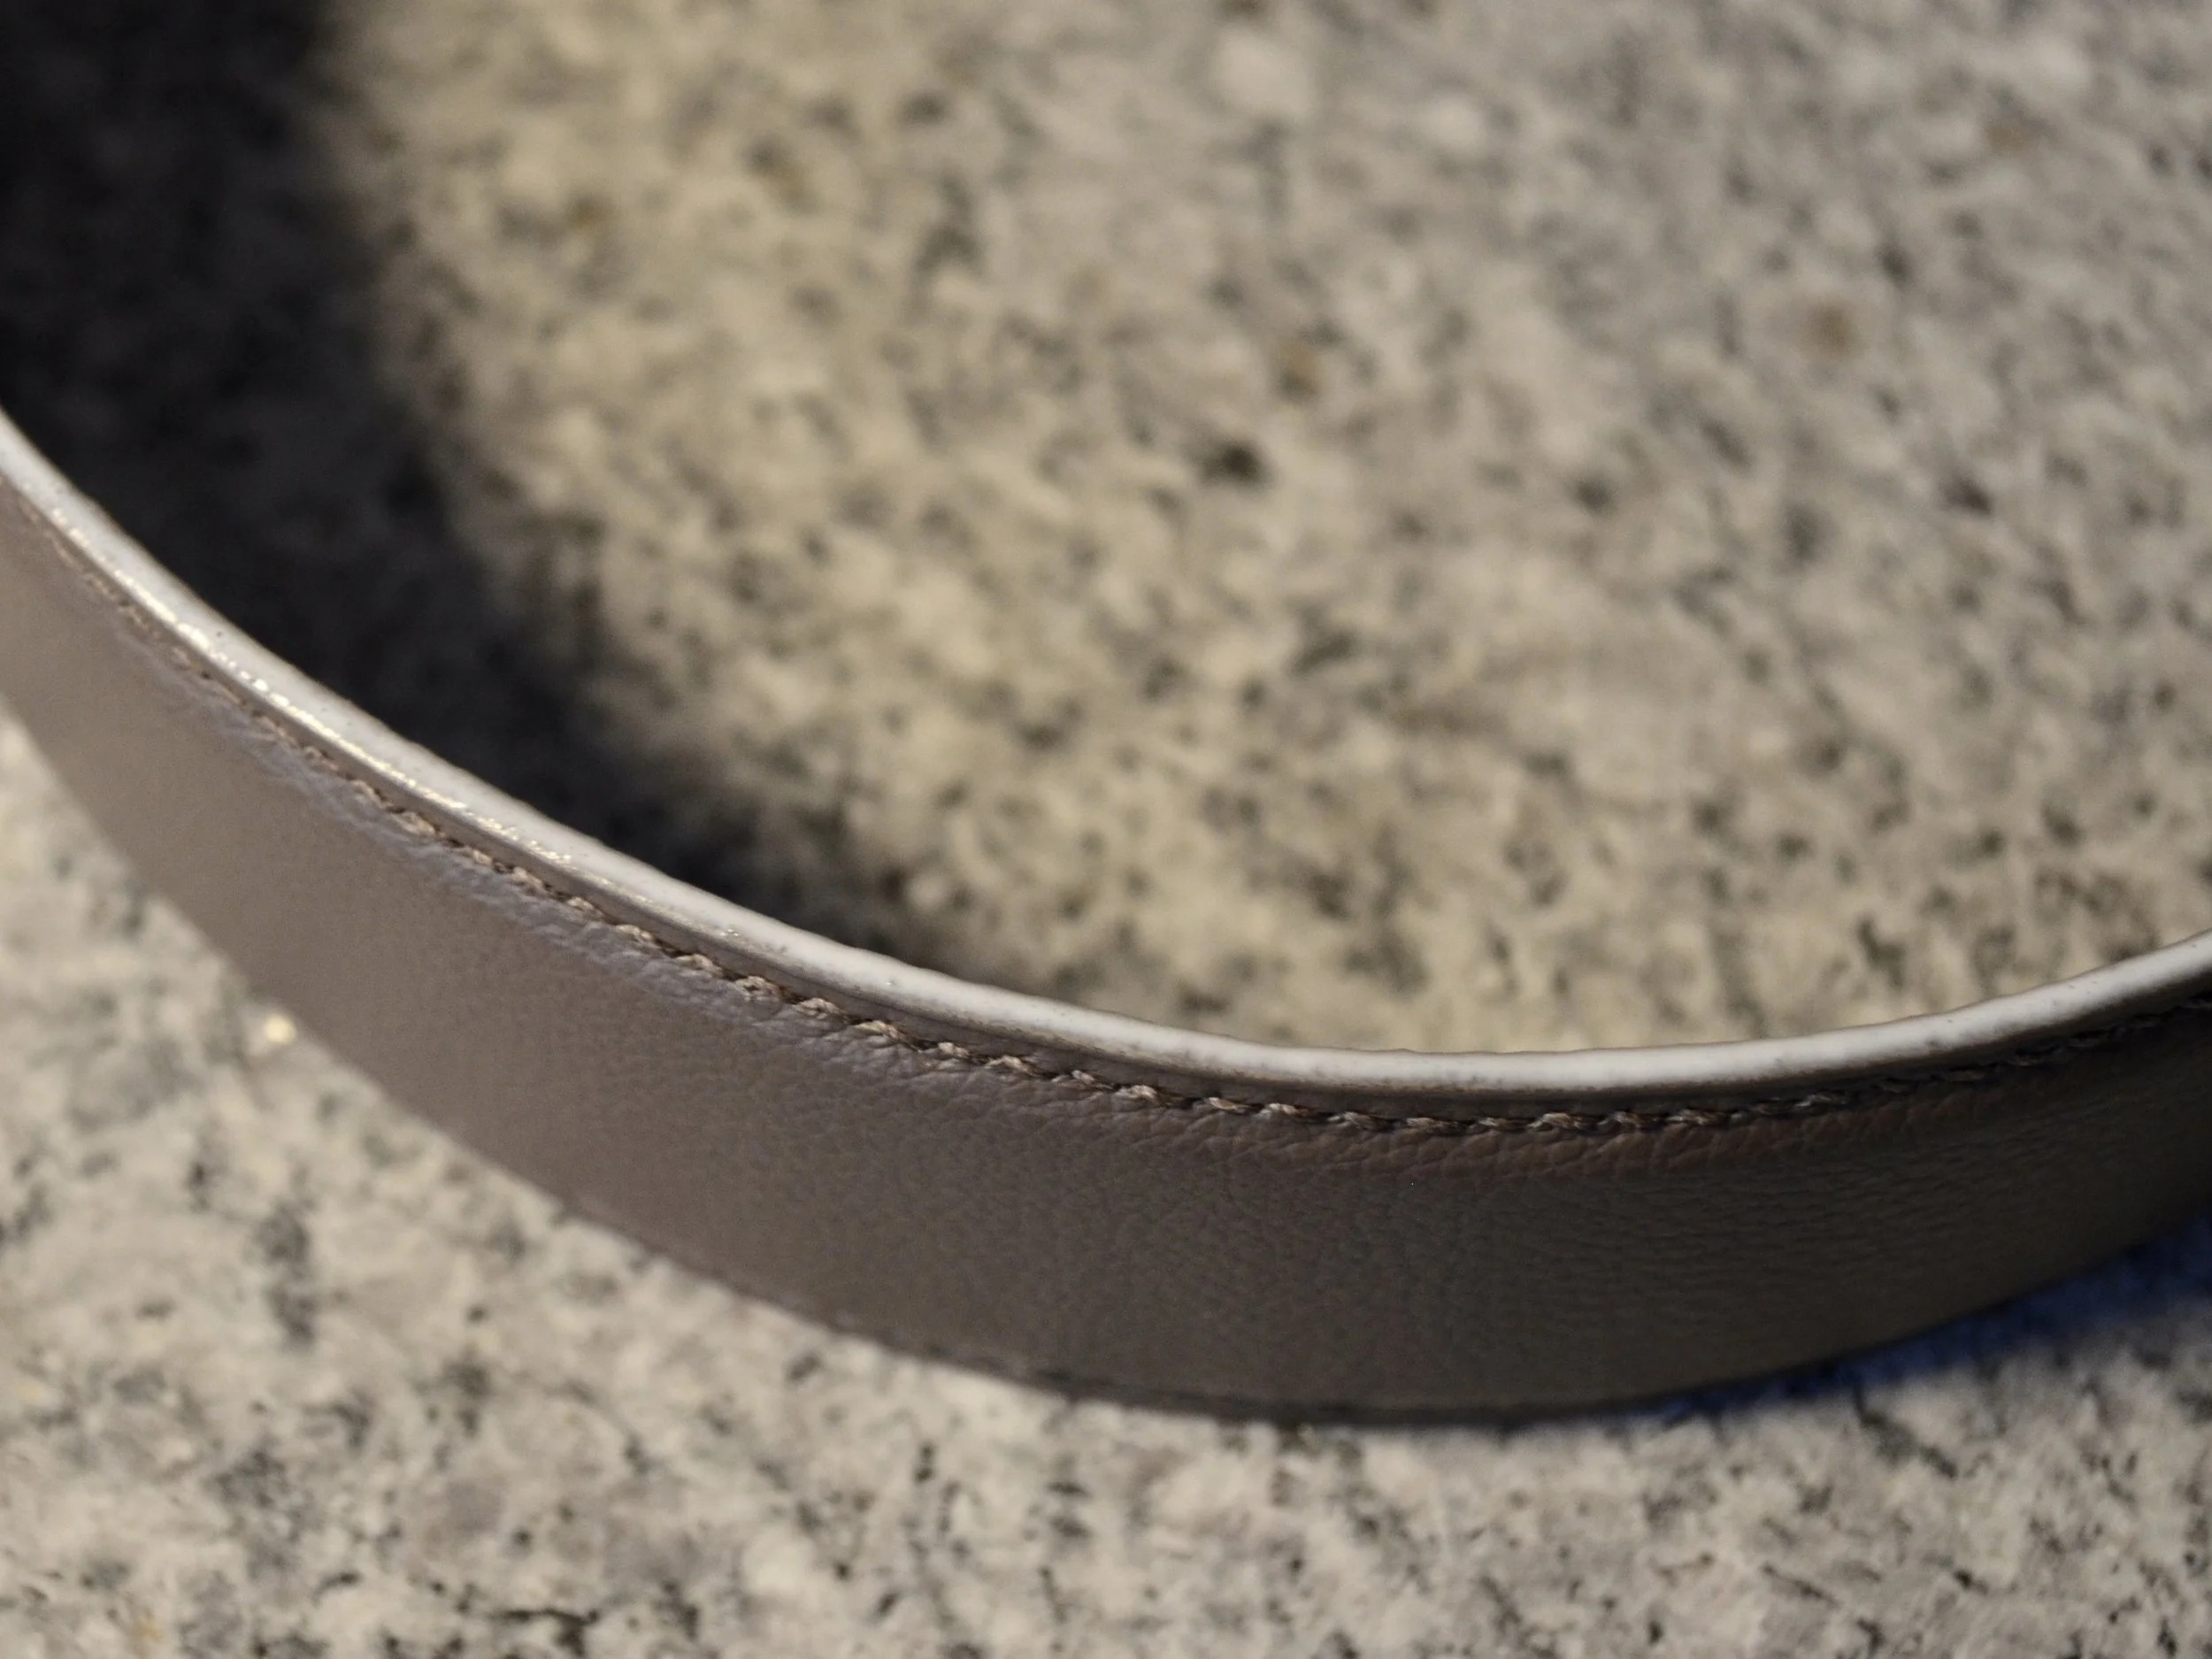
When producing high quality leather goods one of the most time consuming parts is edge painting. I’m going to show you the process and explain what the benefits of a high quality edge are.
Why even bother?
Leather edge paint first of all helps to protect the edge from water, stains and dirt. So the paint helps your beloved bag to last longer. As I want to produce long lasting products making sure the edges are sealed and protected is one of my goals.
The look
Of course the edge is also a design feature. You can choose from a variety of different colors and even mix individual ones. You can include a matching edge paint into the design as well as contrasts. I often like to play around with the different options, depending on the overall design. There are even neon and glitter versions of edge paint available if you are feeling a little extra.
For some products I also enjoy a raw, or raw looking edge. In this case I apply a product like the Fiebings Bag Kote to seal the edge and make it more durable but having a rougher look.
But what is the process of leather edge painting and why is it so time consuming?
Step 1
The first step in the edge painting process is the base. Most of the times I am working with at least two layers of leather glued and stitched together. To make sure we have a smooth and even surface to apply the paint to, the application of a base coat is crucial.
Base coat applied on the leather edge of a shoulder strap
After the base coat layer is applied it has to dry for at least 30mins. When this first layer has dried completely it is sanded with a very fine sanding paper until the surface is smooth and even.
Step 2
The first layer of the actual paint is applied to the edge. It is important to start off with an even, not too thick layer of paint so the paint can dry completely before the next layer is applied. The paint needs to be completely dry because each layer will be sanded before the next one is applied.
Again this layer has to dry for about 45 minutes.
First layer of edge paint applied.
Steps 3-5
The sanding and layering of the paint is now repeated until a smooth and even edge is achieved. Each layer again needs to dry for about 45 mins. You see where we are getting here time wise?
Second layer of edge paint after sanding in between layers
Final Step
As a final layer a top coat is applied. Here I tend to choose a matte top coat but shiny and glittery options are also available.
The top coat again needs to dry for about an hour. I choose to let it dry over night as often as I can to make sure all of the layers are completely dry.
Dried matte top coat
As you can see the process of painting the leather edges is a very time consuming one. In my opinion it makes a huge difference in the quality of the things I produce. Therefore I am more than willing to invest the extra hours.
I hope you enjoy these insights of the methods I use in my workshop. If you have any questions about edge painting or on how your custom bag is made let me know in the comments.
LOVE
Aline


